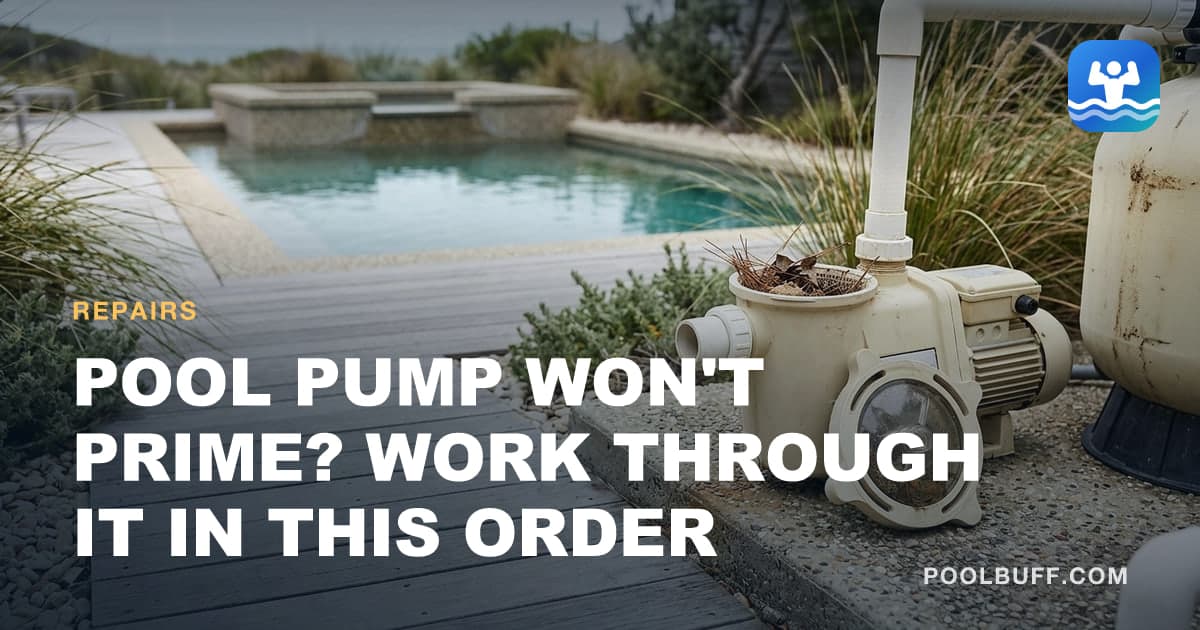
A good chunk of my fifteen-plus years in this industry was equipment repair and warranty work, which mostly meant turning up at a house where a pump had stopped priming and something expensive had supposedly died.
The number of times it was actually the pump? Small. The number of times it was a ten-dollar o-ring, a full skimmer basket or a water level four inches too low? Most of them. I got a bit sheepish about the invoice on some of those calls.
So before anybody talks about replacing anything, work through this in order. It's cheapest-and-most-likely first, which is how any diagnosis should go.
Key takeaways
- Never primes and loses prime after ten minutes are two different problems with different causes.
- Suction-side leaks pull air and you'll never see water. Pressure-side leaks drip. Know which side you're on.
- The pump lid o-ring is the single most common cause and it costs about ten dollars.
- A pump running dry for more than a couple of minutes cooks the mechanical seal. Shut it off.
- Lubricate the lid o-ring with what your pump's manual names, and never petroleum jelly, which breaks down the rubber. Jandy's variable-speed manual says soapy water only.
First, work out which problem you have
These get lumped together and they're not the same.
It never primes. Start it, it churns air, water never arrives. Usually a bigger air leak, a blockage, or no water available at the skimmer.
It primes, then loses prime after five to thirty minutes. It catches, runs fine, then you come back and there's a pocket of air in the lid and no flow. This is almost always a small air leak that takes time to accumulate, or a water level that drops during the run, or a filter clogging as it runs.
It primes but flow is weak. That's a different article — you're looking at restriction, not prime loss.
Knowing which one you've got narrows things down before you touch anything.
One case isn't a fault at all. Some above-ground pumps aren't self-priming. Hayward Support says its PowerFlo LX is designed to sit below the pool's surface, flooded, and won't prime if it's installed any other way. An owner who used one to pull a vacuum hose up and over the pool wall found that out the hard way.
Understand which side you're on

Suction side — skimmer, main drain, the pipes running to the pump, the pump lid. (Every term here is defined in the glossary if any of it is unfamiliar.) Under vacuum. A leak here pulls air in. You will never see water. That's why suction leaks are so much harder to find.
Pressure side — everything after the pump. A leak here pushes water out. You'll see a drip, a spray or a wet patch.
If you can see water leaking, that is not what's stopping your prime. Fix it, but keep looking.
Work through it
Before you start
- Time
- 1 hr
- Difficulty
- Easy
- Cost
- $4-$30 in parts
Tools
- Screwdriver or filter clamp tool
- Garden hose
- Bucket
- Vacuum gauge (optional)
Supplies
- Pump lid o-ring
- Silicone o-ring lubricant
- PTFE tape and thread sealant
- 1
Water level
30 secondsHalfway up the skimmer opening. That's the target.
Below the mouth and the skimmer is gulping air straight into the suction line. There's no vacuum on earth that'll pull a solid column of water past that.
Top it off with the hose and try again. This alone fixes a huge share of no-prime calls, particularly after a hot week, after a party where a lot of water splashed out, or when there's a slow leak elsewhere that nobody's noticed yet.
Also check the skimmer weir — the flap in the skimmer mouth. If it's jammed up or missing, surface flow drops and the skimmer can pull air at the top of its range.
- 2
The pump lid o-ring
5 minIf I had to bet on one part, it's this one.
Pump off. Pull the lid. Take the o-ring out and look at it properly:
- Cracked or crazed? Replace it. The pump maker's own part runs about $9 to $20. Copies cost about the same, or around $4 a ring in a two-pack.
- Flattened, squared off instead of round? Replace it.
- Hard and stiff rather than supple? Replace it.
- Dry? Clean the groove and the sealing surface, lubricate it with what your pump's manual names, and reseat. Hayward names Jack's 327 and recommends a silicone or Teflon-based lubricant. Jandy's variable-speed pump manual is the exception: soapy water only, and no lubricant or sealant on the o-ring.
Never petroleum jelly. It swells the rubber, degrades it, and turns a marginal seal into a failed one within a season. A tube of o-ring lubricant is about $8 to $15 and lasts years.
While the lid's off, check the sealing surface on the housing for scratches or a build-up of grit. A scratch across that face will leak no matter how good the o-ring is.
Then tighten the lid properly. Hand tight plus a bit, evenly. A lid that's cross-threaded or only finger-snug will pull air.
- 3
Both baskets
5 minSkimmer basket first — a basket packed with leaves and pine needles restricts flow enough to stop a prime by itself.
Then the pump basket, with the pump off. Empty it and check it for cracks. A cracked pump basket lets debris through to the impeller, which is how you end up with the problem in step 7.
Baskets are cheap. If it's cracked, replace it rather than nursing it along.
- 4
Filter pressure
1 minThis one gets skipped because people are focused on suction.
A severely clogged cartridge, or a sand bed that hasn't been backwashed in months, creates enough back pressure that the pump can't finish a prime cycle. It'll churn away and never quite get there.
If the pressure was already high before this started, clean the filter and try again before you go hunting for leaks.
- 5
Fill the housing and watch
10 minFill the strainer housing right to the top with a hose. Reseat the lid, tighten it, start the pump.
Now watch through the clear lid. This tells you a lot:
- Catches and runs clear — you had a genuine one-time prime loss. Watch it for half an hour to see if it holds.
- Fills with a swirling vortex of air that never clears — active air leak. Go to step 6.
- Water level in the basket drops steadily while running — active air leak, and a decent-sized one.
- Doesn't move water at all despite the motor running — go to step 7, likely a blockage or an impeller problem.
Important: if it's not catching water within about a minute, shut it off. Running dry overheats the mechanical seal, which is water-cooled, and warps the faces. Then you've turned a ten-dollar problem into a new shaft seal plus your afternoon.
- 6
Hunt the air leak
20 minThis is the good bit, and it's an old trick that works better than anything else.
Run the pump. Take a hose or a cup and pour water slowly over each suction-side joint in turn:
- Every union nut on the suction side
- Every threaded fitting
- The valve stems on the suction-side valves — a dried-out valve stem o-ring is a classic
- The drain plugs on the pump housing
- Around the pump lid itself
- The pipe where it enters the ground
When you cover the actual leak, water gets sucked in instead of air, and the pump immediately improves for a second or two. The bubbles in the lid clear. The pitch changes. That's your leak.
It's a satisfying moment when it happens.
The precise version: thread a vacuum gauge onto a suction-side port. Suction-side gauges read in inches of mercury (inHg) rather than psi, because this side of the pump is pulling rather than pushing — the number is how far below atmospheric pressure the pipe has been drawn, against about 29.9 for a perfect vacuum. A healthy residential system reads somewhere around 5–15 inHg depending on plumbing. A reading that's very low with air present tells you the leak is upstream. Isolating valves one at a time and watching the gauge lets you narrow it down to a specific run of pipe.
Common culprits, in order:
- Pump lid o-ring (again — it's always this)
- Suction-side union o-rings, particularly after somebody's had the pump apart
- Valve stem o-rings, especially on ten-year-old valves
- Threaded fittings where the sealant has failed
- A cracked skimmer throat or a leaking skimmer-to-pipe connection
- Underground pipe damage — rare, expensive, and last on the list for a reason
- 7
Check the impeller
20 minKill the power at the breaker. Not the timer, not the switch. The breaker.
Remove the pump basket and reach into the impeller eye with a finger or a piece of stiff wire. On some pumps you'll need to split the volute to get proper access — that's a bigger job but not a hard one.
You're looking for hair, string, small leaves or a pebble wedged in the vanes. A partially blocked impeller will move a bit of water — enough that the pump sounds alive — and never enough to complete a prime.
Spin it by hand while you're there. It should turn freely. If it's stiff or grinding, you've got a bearing problem and that's a motor job.
What it costs when it's actually broken
Worth knowing before somebody quotes you a new pump.
| Failure | Part cost | Job |
|---|---|---|
| Lid o-ring | $4–$20 | Five minutes, anyone |
| Pump basket | $15–$40 | Five minutes |
| Union o-rings | $5–$12 | Fifteen minutes |
| Valve stem o-ring kit | $10–$25 | Thirty minutes |
| Diverter valve replacement | $40–$90 | An hour, some plumbing |
| Mechanical seal kit | $25–$60 | 1–2 hours, moderate skill |
| Impeller | $40–$120 | 1–2 hours |
| Motor | $250–$600 | 2 hours, or a pro |
| Whole pump | $500–$1,600 | Half a day, or a pro |
The top four rows cover the large majority of no-prime calls. If someone jumps straight to the bottom row without walking the list above, get a second opinion.
On a Hayward Super Pump, the impeller in that table depends on the model — the Super Pump page matches impeller numbers to models in its fitment table. Check for a blockage before ordering, though: a blocked impeller and a worn one present differently, and only one needs a part.
Seasonal patterns worth knowing
Spring opening. Almost always dried-out o-rings. Everything sat empty and cold for five months and the rubber has gone hard. Lubricate or replace every o-ring on the pad as part of opening and you'll skip this problem entirely.
Fall. Baskets, every time. Leaf drop fills a skimmer basket in two days and people are still on a weekly schedule.
Mid-summer. Water level, usually. Evaporation runs 1/4 to 1/2 inch a day in hot dry weather, more with a heater running and no cover. Two weeks unattended and you're below the skimmer.
After anyone's worked on the pad. A union that wasn't retightened, or an o-ring that got pinched on reassembly. If the problem started right after a service visit, that's where to look first.
When to hand it over
Call somebody when:
- You've confirmed an air leak but traced it to an underground pipe — that's excavation
- The motor hums but doesn't spin, or trips the breaker — see why a pool pump won't turn on
- There's water in the motor or you see corrosion on the electrical end
- Any part of the diagnosis involves opening the electrical connections and you're not comfortable
Pool electrical is genuinely its own discipline, and the bonding requirements are there for a reason. Everything above the electrical connection is fair game for a homeowner. The connections themselves are not.
Go deeperIf the air is coming from the skimmerWeak suction, air in the basket, and how to tell a cracked skimmer from a bad gasket.Before you start
- Check price
silicone lubricant
Silicone, never petroleum. Petroleum swells the O-ring and ruins the seal.
Frequently asked questions
Why won't my pool pump prime?
Air is getting into the suction side, or water can't reach the pump fast enough. In order of likelihood: water level below the skimmer mouth, a dry or cracked pump lid o-ring, a lid not fully tightened, packed baskets, a clogged filter, a loose union or a leaking valve stem, then a blocked impeller.
How long can a pool pump run without water?
A couple of minutes at most. The mechanical seal is water-cooled, and running dry overheats it, warps the seal faces and can crack the plastic volute. If the pump isn't catching water within about a minute of starting, shut it off and diagnose rather than letting it keep trying.
How do I find an air leak in my pool pump suction line?
Run the pump and pour water slowly over each suction-side joint, union, valve stem and the pump lid. When you cover the leak, the water gets pulled in instead of air and the pump momentarily improves — the bubbles in the lid clear or it catches prime. That's your leak. A vacuum gauge on the suction side is the more precise version of the same test.
Why does my pool pump lose prime after running for a while?
That pattern usually means a small air leak that takes time to accumulate, or a water level that drops during the run, or a filter clogging as it runs. Small suction-side leaks often only show up once the pump has been running long enough for air to collect at the top of the basket housing.
Can a dirty filter stop a pool pump from priming?
Yes. A severely clogged cartridge or a sand bed that hasn't been backwashed in months creates enough back pressure that the pump can't complete a prime cycle. If filter pressure was already high before this started, clean it first — it's a common cause that gets overlooked because people are focused on the suction side.
Do I need to replace the pump if it won't prime?
Almost never. In my experience doing repair and warranty work, the overwhelming majority of no-prime calls came down to a $10 o-ring, a full basket, a low water level or a loose union. Replace the pump only after you've confirmed the motor runs, the impeller is clear and turning, and there's genuinely no air leak.