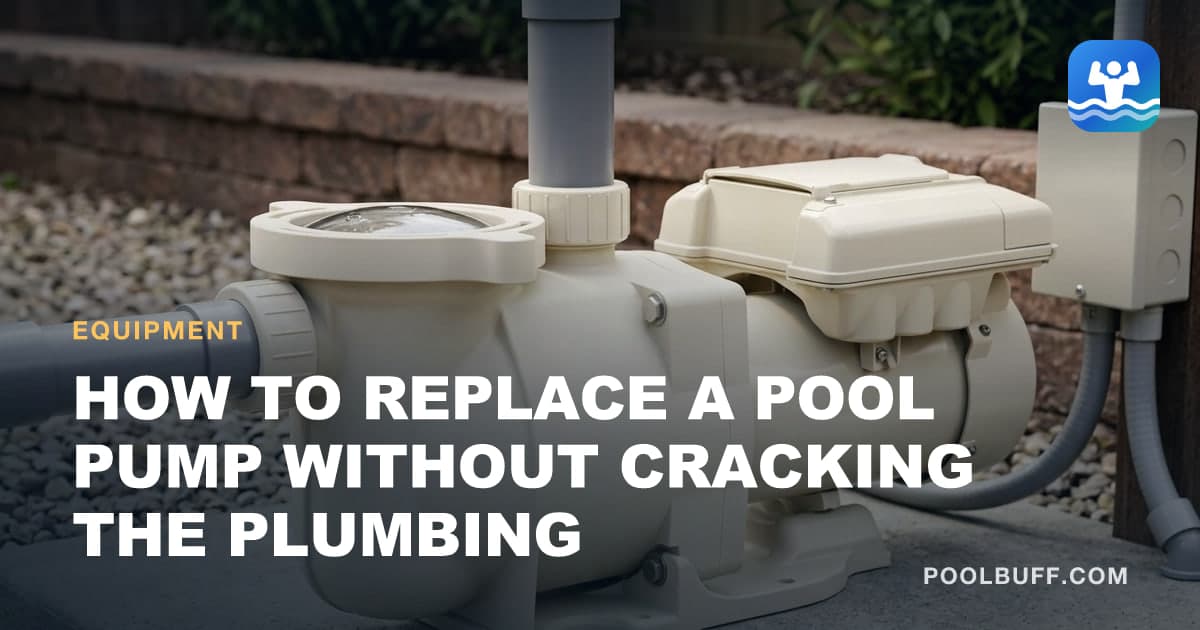
The fitting is the easy part. Two unions, four bolts, one conduit, and a couple of hours.
What goes wrong is everything decided before the wrench comes out — buying the wrong size, buying the wrong ports, or replacing a whole pump when the motor was the only dead thing on the pad.
Key takeaways
- Motor or whole pump is the first decision, and it changes the cost by hundreds.
- Check the port size. A SuperFlo is 1.5 inch and a Super Pump is 2 inch.
- Plastic threads are hand-tight plus a quarter turn. Over-tightening cracks the port.
- The bonding wire is not optional and not decorative. It goes back on.
- Replacing like for like is how oversized pumps stay oversized for another decade.
First: the motor, or the whole pump?
This is the decision worth slowing down for, because it changes the bill by several hundred dollars.
Replace the motor when the wet end is sound. No cracks in the housing, a seal plate that is not corroded through, threads at both ports that are intact, and a strainer pot that still seals. A motor is a fraction of the cost of a pump, and it is the same job minus the plumbing.
If you do this, replace the shaft seal at the same time. The pump has to come apart to fit the motor, the maker's own seal is roughly $20 to $35, and a new motor spinning a twelve-year-old seal will be leaking onto its own bearings within a season.
Replace the whole pump when the housing is cracked, when a port thread has been stripped or split, when the pump is more than roughly ten years old, or when you are changing size or type anyway.
Age matters more than it looks. A ten-year-old wet end has a strainer lid that no longer seals, a basket that has gone brittle, and threads that have been made up and broken half a dozen times. Hanging a new motor on that is money spent on the wrong half.
Second: do not buy the same pump
Replacing like for like feels safe and is how an oversized pump stays oversized for another decade.
The horsepower on the old label tells you what somebody fitted, not what the pool needs. Most residential pools are running considerably more pump than the plumbing can even use, and the penalty arrives monthly rather than all at once. Work out the flow you actually need before shopping — it is twenty minutes and it is the single highest-value part of this job.
Efficiency rules also mean your replacement is likely to be variable speed whether you were planning on that or not, which is no bad thing: a variable-speed pump run slower for longer costs a fraction of a single-speed pump run flat out, and run time is where that saving lives.
Once you know the flow you need, the equipment pages by brand are the quickest way to compare specific machines — model numbers, what each one's parts cost, and the warranty trap in the model prefix, which catches more people than any spec on the box.
The job itself
- 1
Kill the power at the breaker
5 minutesNot the timer, and not the automation panel. The breaker.
Then prove it is dead at the pump terminals with a voltage tester. A pump wired into automation can start itself on a schedule you have forgotten about, and it will do it while your hand is inside the strainer pot.
- 2
Isolate and drain
10 minutesClose the suction and return valves. If your plumbing has no valves — plenty does not — you will need winterizing plugs in the skimmer and returns, and you should expect to lose the water in the lines.
Pull both drain plugs from the bottom of the strainer pot and let it empty properly before you break anything open.
- 3
Photograph the wiring, then disconnect
15 minutesOpen the motor terminal cover and take a photograph before you touch anything. Voltage configuration, wire positions, which conductor sits under which screw.
Disconnect the conductors, then the bonding wire from its lug on the outside of the motor — the bare or green conductor clamped to the motor body. Note where it goes. It comes back.
- 4
Break both unions
10 minutesUnion collars should come loose by hand. If yours will not, use channel locks gently and in short movements rather than one long heave — the collar is plastic and it will crack.
A seized union is common on a pump that has been in the sun for a decade. If it will not move, cutting the pipe and fitting new unions is a better outcome than splitting the collar and discovering it mid-job.
- 5
Unbolt and lift it out
10 minutesFour bolts on most pumps. Lift the old unit clear, then look at the pad: level, clean, and no standing water. A pump that sits unevenly puts load into the plumbing rather than into the pad.
- 6
Dry-fit the new pump first
15 minutesSet the new pump in position and offer both unions up to their ports before sealing anything.
If the ports do not line up — different height, different spacing, different diameter — you want to know now, with clean threads and no tape on them, rather than after everything is made up.
- 7
Make up the plumbing
30 minutesUse what the new pump's manual says, because the makers differ. Hayward's is the most specific: PTFE tape on the male threads, one to two layers, wound clockwise as you face the open end. No plumber's pipe dope, which Hayward says may crack the plastic. No tape on the union o-rings.
Then hand tight, plus 1½ turns with a tool. Hayward's ports have molded thread stops, and it says not to force a fitting past them. Tape cuts friction a lot, so a fitting goes further than it feels like it should. Plastic threads will not tell you they are about to split until they have. This is the second mistake that turns a pump swap into a plumbing repair, and it is entirely avoidable.
- 8
Wire it, and put the bonding back
20 minutesMatch the voltage configuration to your supply before you energize anything — plenty of pumps ship configured for one voltage and are installed on the other.
Reconnect the bonding conductor to its lug. This is a code requirement, it is what keeps the pump body at the same potential as everything else somebody might touch while standing in water, and it is the single most commonly omitted step on a DIY pump swap.
If any part of the electrical side is not obvious to you, stop here and call a licensed electrician. It is an hour of their time.
- 9
Prime it and start it
15 minutesFill the strainer pot with water. Seat the lid o-ring, lubricate it the way the manual says, and close the lid hand-tight. Hayward names Jack's 327, while Jandy's variable-speed manual says soapy water only and no lubricant.
Open both valves, stand clear of the lid, and switch on at the breaker. The pump should catch prime within a minute or two. If it does not, work through the priming order rather than letting it run dry.
- 10
Watch it for ten minutes
10 minutesCheck both unions, the seal plate joint, and the drain plugs. A weep that looks trivial now is a puddle by the weekend and a bearing failure by next season. If you find one, where a pump leaks tells you what failed.
Then check the filter pressure and note what normal looks like on the new pump, because that number is your baseline for everything that goes wrong later.
What people get wrong
Over-tightening plastic threads. Covered above, and it is worth repeating because it is the most common way a straightforward job becomes a call-out. Hand-tight plus a quarter turn.
Leaving the bonding wire off. It is easy to disconnect, easy to forget, and invisible once the new pump is in. It is also the conductor that exists specifically to stop somebody standing in water becoming the path to ground.
Reusing a hardened lid o-ring. The new pump comes with its own. Use it, lubricate it, and keep the old one nowhere near the pad.
Not knowing the plumbing. If you are unsure which line is suction and which is return, or where the valves actually go, how water moves through a pool is worth reading first. Half the difficulty in this job is confidence about what you are looking at.
Go deeperBuy the right size while you are at itFlow against head, why horsepower is the wrong number, and what most pools actually need.Frequently asked questions
Can I replace just the motor instead of the whole pump?
Often, and it usually costs half as much. A motor swap makes sense when the wet end is sound — no cracks in the housing, a seal plate that is not corroded, threads that are intact. Replace the shaft seal at the same time, because it comes apart anyway and a new motor spinning an old seal is a leak waiting to happen. On a pump over about ten years old, the whole unit is usually the better spend.
Do I need the same size pump I had?
No, and replacing like for like is how oversized pumps stay oversized for another decade. Size on flow rate against your plumbing, not on the horsepower printed on the old label. Most residential pools need far less pump than they have, and current efficiency rules mean the replacement will likely be variable speed anyway.
Will a new pump fit my existing plumbing?
Check the port size before you buy. Pentair's SuperFlo runs 1.5-inch ports and Hayward's Super Pump runs 2-inch, so a straight swap between them needs adapters even though both are sold as drop-in replacements. Also measure the height from the pad to the center of the ports, because a difference there means cutting and refitting pipe rather than reusing unions.
How long does it take to replace a pool pump?
Two to three hours for a straightforward swap where the ports line up and the electrical is a simple reconnection. Add time if the old unions are seized, if the plumbing needs cutting, or if the pad has to be adapted. The buying decision takes longer than the fitting.
Do I need an electrician to replace a pool pump?
For a like-for-like reconnection at the same voltage, many owners do it themselves. Anything involving new circuits, a voltage change or a GFCI question should go to a licensed electrician. Bonding in particular is a code requirement rather than an optional extra, and it is the part most likely to be quietly left off.